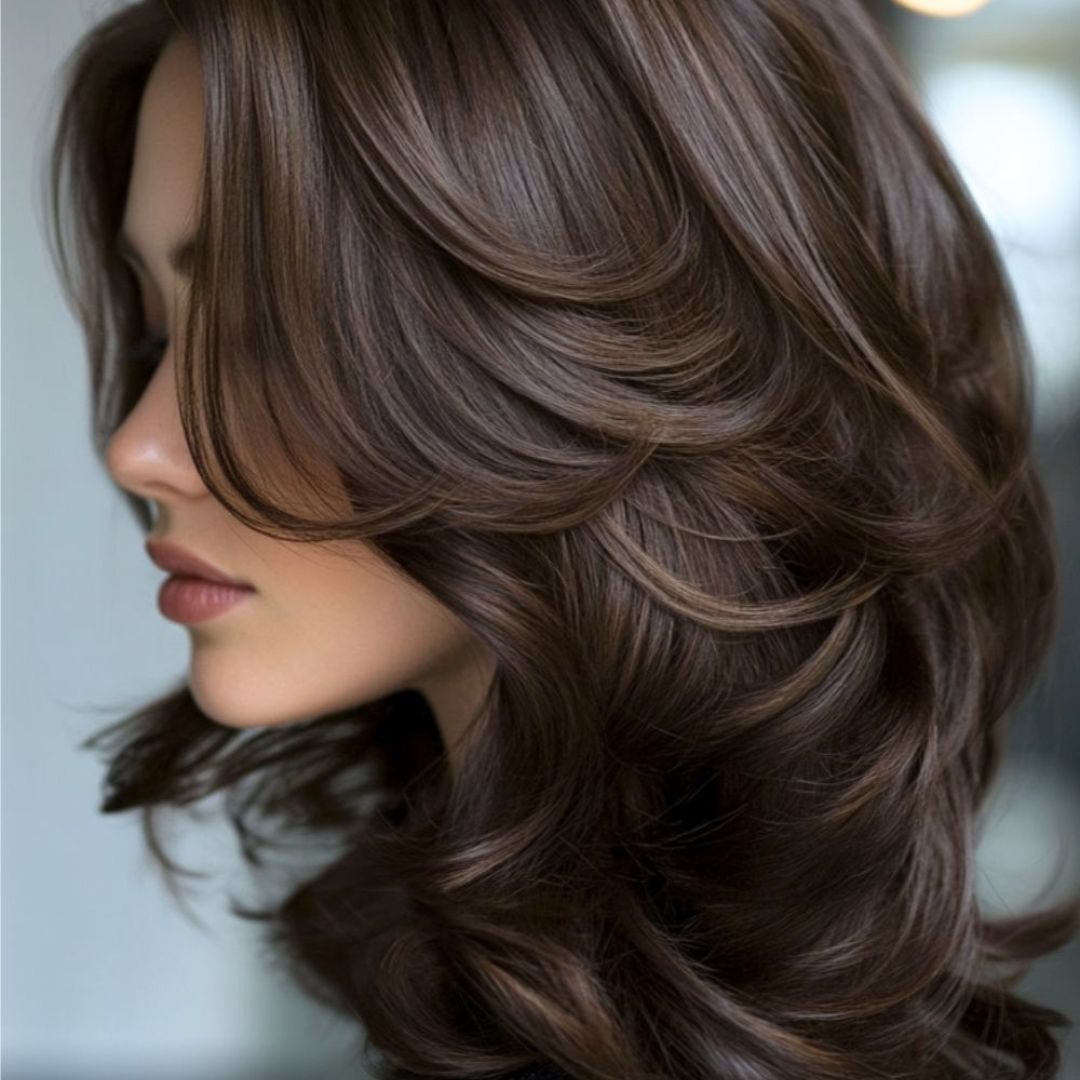
The French braid is undoubtedly the most amazing hairstyle that has stood out for decades. This hairstyle applies to all: elegant, effortless, and perfect for any occasion, whether hitting the gym or a formal event. If you have always admired this look but thought it was too hard to create, don’t worry.
{contains affiliate links}
In this step-by-step video tutorial on a French hairstyle, we will show you exactly how to master the look at home in six easy steps. French braiding is highly complex, yet once you become accustomed to it, it isn’t rocket science. With that said, let’s head into the actual steps to do that perfect French braid.
What You’ll Need For Your French Braid
Here are some essential items you may want to add to your beauty arsenal:
Elastic Hair Ties
A tight elastic hair tie is necessary to secure the braid’s end. These hair ties will hold your braids in place without slippage, and they try to be elastic bands that are gentle to the hair and have no breakage.
Order Online Here: Elastic Hair Ties
Simple Hair Pins
Simple hairpins have ridges that help them stay securely in your hair, making them perfect for tucking away loose ends or securing flyaways in your French braid.
Order Online Here: Simple Bobby Hair Pins
Detangling Brush
A Detangling brush, such as Wet Brush is wonderful for smoothing out tangles before braiding. The Wet Brush Original Detangler or Tangle Teezer will gently work through the knots to help make the braid easier.
Order Online Here: Wet Brush Original Detangler and Tangle Teezer
Dry Texture Spray Or Hairspray
Completing the braid with a dry texture spray or hairspray will ensure the braiding stays in place all day. It will also add some volume and keep flyaways at bay. Popular options include the Moroccanoil Dry Texturizing Spray or the IGK Beach Club Texture Spray for that beachy, tousled look.
Step 1: Brush Your Hair

Start with brushing or combing your dry hair to eliminate any tangles. This step is important as working with clean, detangled hair will make braiding smoother. If you have fine hair that tangles easily, consider using a detangling brush, such as the Wet Brush Original Detangler or a Tangle Teezer. Thicker hair would be better combed.
Do not braid hair when wet because this can shift during drying, giving you an uneven braid. Begin with brushed hair, so you have clean areas to work on, making what follows much simpler.
Step 2: Divide Hair Into Three Sections

Next, divide your hair into three even sections. These sections will form the basis of your braid. You can begin anywhere on your head, but we suggest starting at the center above your forehead for a tighter and more secure French braid.
You can begin just above your ears and work with your natural parting if you prefer a looser style. To ensure a balanced braid, make sure the center section of hair is approximately the same size as the left and right sections.
Step 3: Cross The Left Section Over The Center

Now comes the fun part—begin braiding! Take the left section of the hair and cross it over the center section. Your left section will now become the new center section.
Once the left section has crossed over, pull the center section to the left side. It should now be in the position of the left section. Then, please cross the right section over the center section, repeating the process. As you continue braiding, the right section will take center stage.
Always keep the hair taut and close to your scalp as you braid. Each time you cross a section over that becomes your new center section.
Step 4: Add Hair To The Left And Right Sections

As you continue the braid, you’ll begin adding hair to each section. Add a small section of hair from the left side of your head to the left section. This will thicken the section before you bring it over to the center.
Repeat the same step on the right side: grab more hair from the right side of your head and add it to the right section. After adding the hair, cross the right section over the center.
Adding hair to the left and right sections ensures that your French braid stays tight and structured while keeping the look clean and smooth.
Step 5: Continue Braiding To The Nape

Add hair to each section as you move down toward the nape of your neck. Keep alternating between the left and right sections, crossing them to the center and adding more hair from each side.
When you reach the nape of your neck, and there’s no more hair to add, simply braid the remaining sections in a classic three-strand braid. From here, you will no longer add hair but continue braiding the sections normally down to the end.
Step 6: Secure Your Ends

To tie the end off, slide an elastic hair tie down as close to your ends as you can. Adjust how tight or loose you like the braid to be; for this illustration, I left a bit of hair loose at the bottom, about half an inch to an inch.
For a tighter braid, leave less of the ends exposed; for a looser style, feel free to leave more undone. Use a small, discreet elastic tie to secure the braid in place to avoid the elastic unraveling.
Step 7: Finishing Touches

At this point, your French braid should be securely in place, but if you’re dealing with layers or flyaways, they may need a little extra help. Consider using a dry texture spray or hairspray to hold and smooth any loose strands. Products like Dry Texturizing Spray or more affordable options like IGK Beach Club Texture Spray can work wonders for keeping everything in place.
To add a more relaxed, “undone” vibe, gently pull apart sections of the braid to thicken it up. Loosening the braid a bit will give it a fuller, more voluminous appearance, and you can frame the face with a few strands for a softer look.
If any pieces of hair are sticking out or layers are loose, use a Japanese hairpin or matte bobby pins to tuck those pieces back in and keep the braid looking neat and flawless.
For an extra touch, you can create French braid pigtails by repeating the same steps on each side of your head, which gives a fun and fresh twist to the classic French braid.
[Also Read: French Twist Hairstyle Step-By-Step Guide]
What’s Your Hair Motivation?
Attaining the French braid is more than a simple hairstyle; it’s finding one that complements your mood and needs. Whether professional or sleek, polished or casual with relaxed voluminous braids, the hair must always mirror your style. Motivation could be as simple as getting the hair out of your face when working out or adding that bit of elegance to a special occasion.
French braids can be worn on any occasion or hair type; they are versatile enough for everyone. Once you have the right tools and techniques, creating a braid that stays put and complements your style becomes easy. What is your motivation today? It could be about comfort, style, or something practical, and the French braid is always a great expression of personality in your hair.
FAQs
How Long Does It Take to Make a French Braid?
It usually takes about 10-15 minutes to make a French braid, depending on your level of expertise and hair length. The more you practice, the faster you can do it and get a perfect braid in even less time.
Can I French Braid My Hair Without Sectioning It?
Although you can do a French braid without sectioning, it‘s strongly advised to section your hair for a more accurate and even braid. Sectioning allows you to have better control over the braid, allowing you to easily add hair and achieve a neat, structured finish.
How Do I Make My French Braid Last Longer?
To extend the life of your French braid, set it with hairspray or dry texture spray for added hold. You can also tease out parts of the braid for added volume and security. Secure with a subtle hair tie so the braid does not come undone.
Can I French Braid Short Hair?
Yes! You can do a French braid on short hair, though it might be a bit more challenging to maintain the braid tightly and in control. To get the best out of it, use smaller hair sections and a hairspray with a strong hold to maintain everything in position.